Cook Ahead: Store & Reheat Over Hard Eggs for Easy Mornings
Mornings are often a race against the clock, leaving little time for a nutritious and satisfying breakfast. The allure of a quick bowl of cereal or a rushed piece of toast is strong, but what if you could enjoy a hearty, protein-packed start to your day with minimal effort? Enter the humble yet mighty over hard egg. These fully cooked fried eggs are not just a delicious alternative to their runny-yolked cousins; they are a meal-prep superhero, offering unparalleled convenience and versatility. Imagine waking up, grabbing a prepped egg, and having a gourmet breakfast sandwich ready in minutes. This guide will walk you through mastering the perfect over hard egg, and more importantly, how to store and reheat them safely and deliciously for effortless mornings.Why Over Hard Eggs Are Your Meal Prep MVP
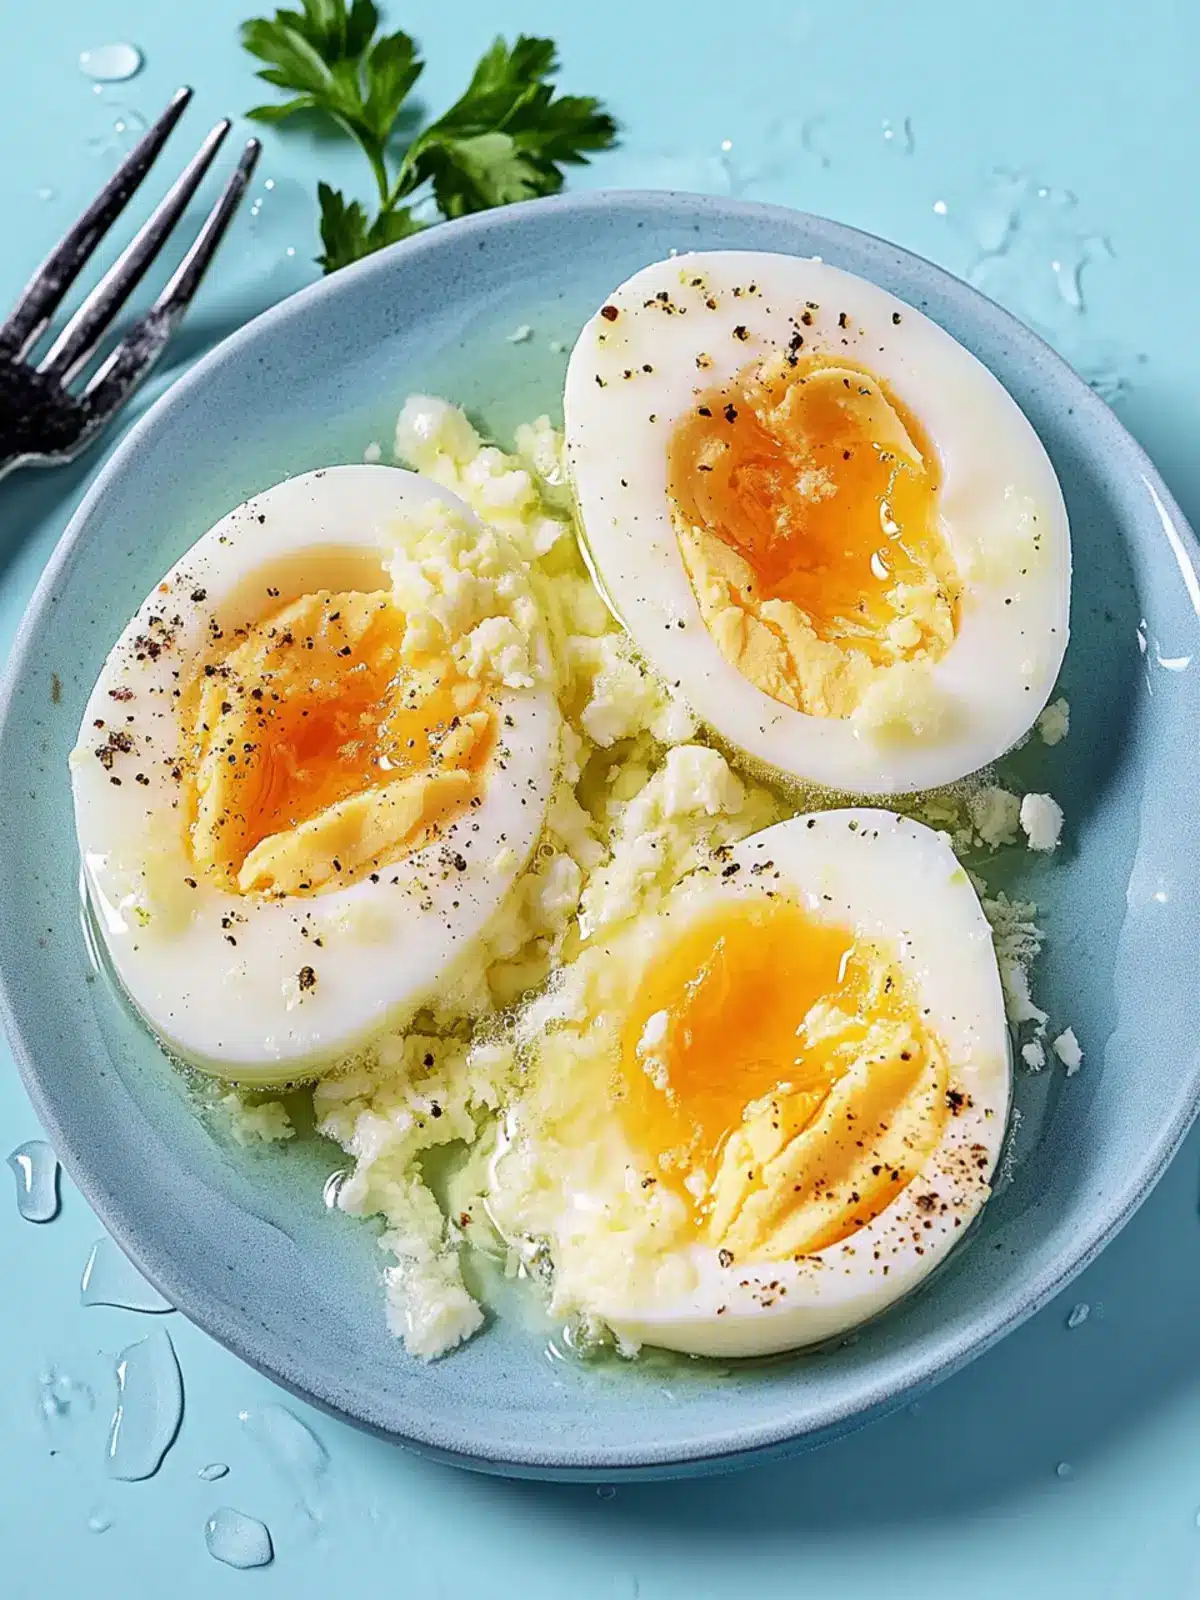
For many, the thought of a fried egg conjures images of delicate, runny yolks—perfect for dipping toast, but a potential mess, especially when you're on the go. This is where over hard eggs shine. Unlike over easy or over medium eggs, which feature a liquid or softly set yolk, an over hard egg boasts a completely solid, creamy yolk encased in crisp, fully cooked whites. This characteristic makes them incredibly practical for make-ahead meals. The primary benefit of a fully cooked yolk is the elimination of mess. There's no worrying about sticky fingers or drips when assembling a breakfast sandwich, making them the ideal choice for busy commuters, school lunches, or quick office breakfasts. Their solid nature also means they hold up exceptionally well to storage and reheating, maintaining their texture and flavor far better than their runnier counterparts. They transform from a simple breakfast staple into a foundational element for a variety of grab-and-go meals. In fact, their mess-free nature makes them perfectly suited for on-the-go meals, as detailed in Why Over Hard Eggs Are Best for Mess-Free Breakfast Sandwiches.Crafting the Perfect Over Hard Egg Every Time
Achieving the perfect over hard egg is less about luck and more about technique. With a few simple steps and the right approach, you'll be cooking consistently delicious eggs that are ideal for immediate enjoyment or future meal prepping.Essential Ingredients & Equipment
Before you begin, gather your essentials:- Fresh Eggs: The fresher the egg, the better the flavor and texture. For an elevated experience, consider pasture-raised eggs. These eggs come from hens that forage outdoors, resulting in richer yolks, superior flavor, and higher nutritional value, including increased omega-3s and vitamins.
- Quality Fat: Butter is a classic choice for its rich flavor, but ghee, beef tallow, or avocado oil are excellent alternatives, offering different flavor profiles and higher smoke points. You'll need enough to lightly coat the pan and prevent sticking.
- Seasoning: A simple pinch of salt and a few twists of black pepper are all you need to enhance the natural flavors of the egg.
- Non-Stick or Cast Iron Skillet: A good pan is crucial. A non-stick skillet prevents the egg from adhering, making flipping effortless. A well-seasoned cast iron skillet also works wonderfully, providing even heat distribution and a beautiful sear. Ensure it's large enough to cook eggs without overcrowding.
- Sturdy, Flexible Spatula: This is your best friend for flipping. A spatula that can easily slide under the egg while offering support is key to preventing breakage.
Step-by-Step Cooking Guide
- Heat the Pan: Place your chosen skillet over low to medium heat. The key to perfectly cooked eggs is a moderate temperature; too high, and the whites will burn before the yolk cooks through, leading to rubbery textures. Melt about a teaspoon of butter or oil until it shimmers or begins to gently foam.
- Crack and Season: Carefully crack your eggs directly into the hot pan, leaving ample space between them if cooking more than one. Immediately season with a pinch of salt and black pepper.
- Cook the Whites: Allow the eggs to cook undisturbed for 2 to 3 minutes. During this time, the whites will set completely, becoming opaque around the edges and firming up. The edges might even get a little crispy, which is a desirable characteristic of a good fried egg.
- The Gentle Flip: This is often the trickiest part, but with practice, it becomes second nature. Slide your sturdy spatula completely under the egg. If it's sticking, gently tilt the pan to encourage the egg to slide onto the spatula. With a swift, gentle motion, flip the egg over, ensuring it lands back in the pan without breaking.
- Cook the Yolk: Once flipped, continue cooking for another 1 to 2 minutes. For a truly over hard egg, you'll want to ensure the yolk is fully set. Around the 1-minute mark, you can gently press on the yolk with your spatula. If it feels firm and resistant, it's done. A fully cooked yolk will feel solid, with no give.
- Serve Immediately or Prepare for Storage: Once cooked to your liking, slide the eggs onto a plate to enjoy warm, or transfer them to a wire rack to cool completely if you plan to store them.
The Secret to Freshness: Storing Your Cooked Over Hard Eggs
The true beauty of over hard eggs for meal prep lies in their excellent storability. Because the yolk is fully cooked, there's no concern about texture changes or food safety issues associated with raw or runny yolks. You can cook a batch of these eggs up to 72 hours (3 days) in advance, making them perfect for your weekly breakfast rotation. To ensure your cooked eggs remain fresh and delicious:- Cool Completely: After cooking, immediately transfer the eggs to a plate or a wire rack and allow them to cool down to room temperature. Storing warm eggs can create condensation, leading to sogginess and potentially faster spoilage.
- Individual Wrapping: This step is crucial for maintaining freshness and preventing cross-contamination of flavors. Wrap each individual over hard egg tightly in aluminum foil. The foil acts as a protective barrier, keeping moisture in and unwanted odors out. It also prevents the eggs from sticking together.
- Airtight Container: Once individually wrapped, place the foil-wrapped eggs into an airtight food storage container. This provides an additional layer of protection against air exposure, which can dry out the eggs, and further safeguards against absorbing odors from other foods in the refrigerator.
- Refrigerate Promptly: Place the sealed container in the refrigerator within two hours of cooking. Properly stored, your over hard eggs will remain fresh and ready to eat for up to 3 days.
Effortless Reheating for Grab-and-Go Meals
Reheating prepped over hard eggs is remarkably simple and quick, making your morning routine even smoother. The goal is to warm them through without overcooking or drying them out.Best Reheating Method: Skillet
The best way to reheat your eggs for optimal texture is on the stovetop:
- Prepare the Skillet: Add a small pat of butter or a tiny amount of oil to a non-stick skillet and heat it over low-medium heat.
- Reheat Gently: Unwrap your desired number of eggs and place them in the warmed skillet.
- Cover and Warm: Cover the pan with a lid. The lid creates a steamy environment that gently warms the eggs through without drying them out. Let them reheat for 2-3 minutes, flipping once if desired. They should be warm to the touch.
Alternative Reheating Methods:
- Microwave (Use with Caution): While convenient, microwaving can sometimes make eggs rubbery. If using, place an unwrapped egg on a microwave-safe plate, cover it loosely with a damp paper towel (this helps create steam), and microwave in 15-second bursts until warm. Be careful not to overcook.
- Toaster Oven: For a slightly crispier result, preheat your toaster oven to about 300°F (150°C). Place the unwrapped eggs directly on the rack (or on a small baking sheet) and heat for 3-5 minutes, or until warmed through. This can give them a nice, even reheat without drying.
Beyond Breakfast Sandwiches: Versatile Uses for Your Prepped Eggs
While breakfast sandwiches are a classic pairing for over hard eggs, their utility extends far beyond just toast and bacon. Their solid nature makes them perfect for a variety of culinary applications, adding protein and substance to any meal.- Elevated Toast or Bagels: Simply place a reheated egg on buttered toast or a toasted bagel, perhaps with a slice of cheese or avocado, for a simple yet satisfying meal.
- Power Salads: Chop your prepped eggs and toss them into any green salad for an instant protein boost. They pair beautifully with spinach, mixed greens, cherry tomatoes, and a light vinaigrette.
- Breakfast Burritos or Wraps: Slice or crumble your warmed eggs and combine them with black beans, salsa, cheese, and your favorite veggies in a tortilla for a hearty breakfast wrap that can also be prepped ahead.
- Grain Bowls: Add a sliced over hard egg to a warm bowl of quinoa, brown rice, or farro, alongside roasted vegetables and a drizzle of your favorite sauce for a balanced lunch or dinner.
- Protein-Packed Snacks: Enjoy them plain, seasoned with a little everything bagel seasoning, or with a dash of hot sauce for a quick, healthy snack that will keep you full.
